
Cut fabric:
For personal use, one piece 8”x12”
OR
For dust cover for N-95, one piece 8x13”
THEN
1.25” WOF (width of fabric) strips to equal 72-74” when finished (so, as an example, if fabric is 18” wide, cut 4 strips 1.25” wide x WOF for 72" total length).


(This is important - if your fabric has direction, be sure it's going the right way, or your foxes will be sideways. Ask Gene how he knows)
Begin by preparing strips for ties.

Stitch strips together on the diagonal as shown to reduce bulk.

Trim at joins, then press in approximately 0.25” on either side to create binding.


Cut into two 36-37” long strips. Set aside.
Prepare Mask body:
Prepare Mask body:
Turn and press under about 0.25” on both short (8”) sides of 8x12” fabric.

Fold fabric in half with wrong sides together and turned and pressed edges matching. Top stitch across 8” side of mask to close.

Stop needle 1/8” from corner. Pivot. Stitch about 3/4” then create first pleat, stitching it down and pausing with needle down to pin opposing pleat.


Repeat pleat formation 2 or 3 additional times for a total of 3 or 4 pleats, each about 1/4”-3/8”.

Pivot needle again and stitch across 8” width of mask.

Pivot a final time and stitch along second pleated side.


Press pleats into place.
(*NOTE - you may wish to create and press pleats prior to top stitching; if so just pin along 8” side, create your pleats and press, then return to machine to top stitch.)
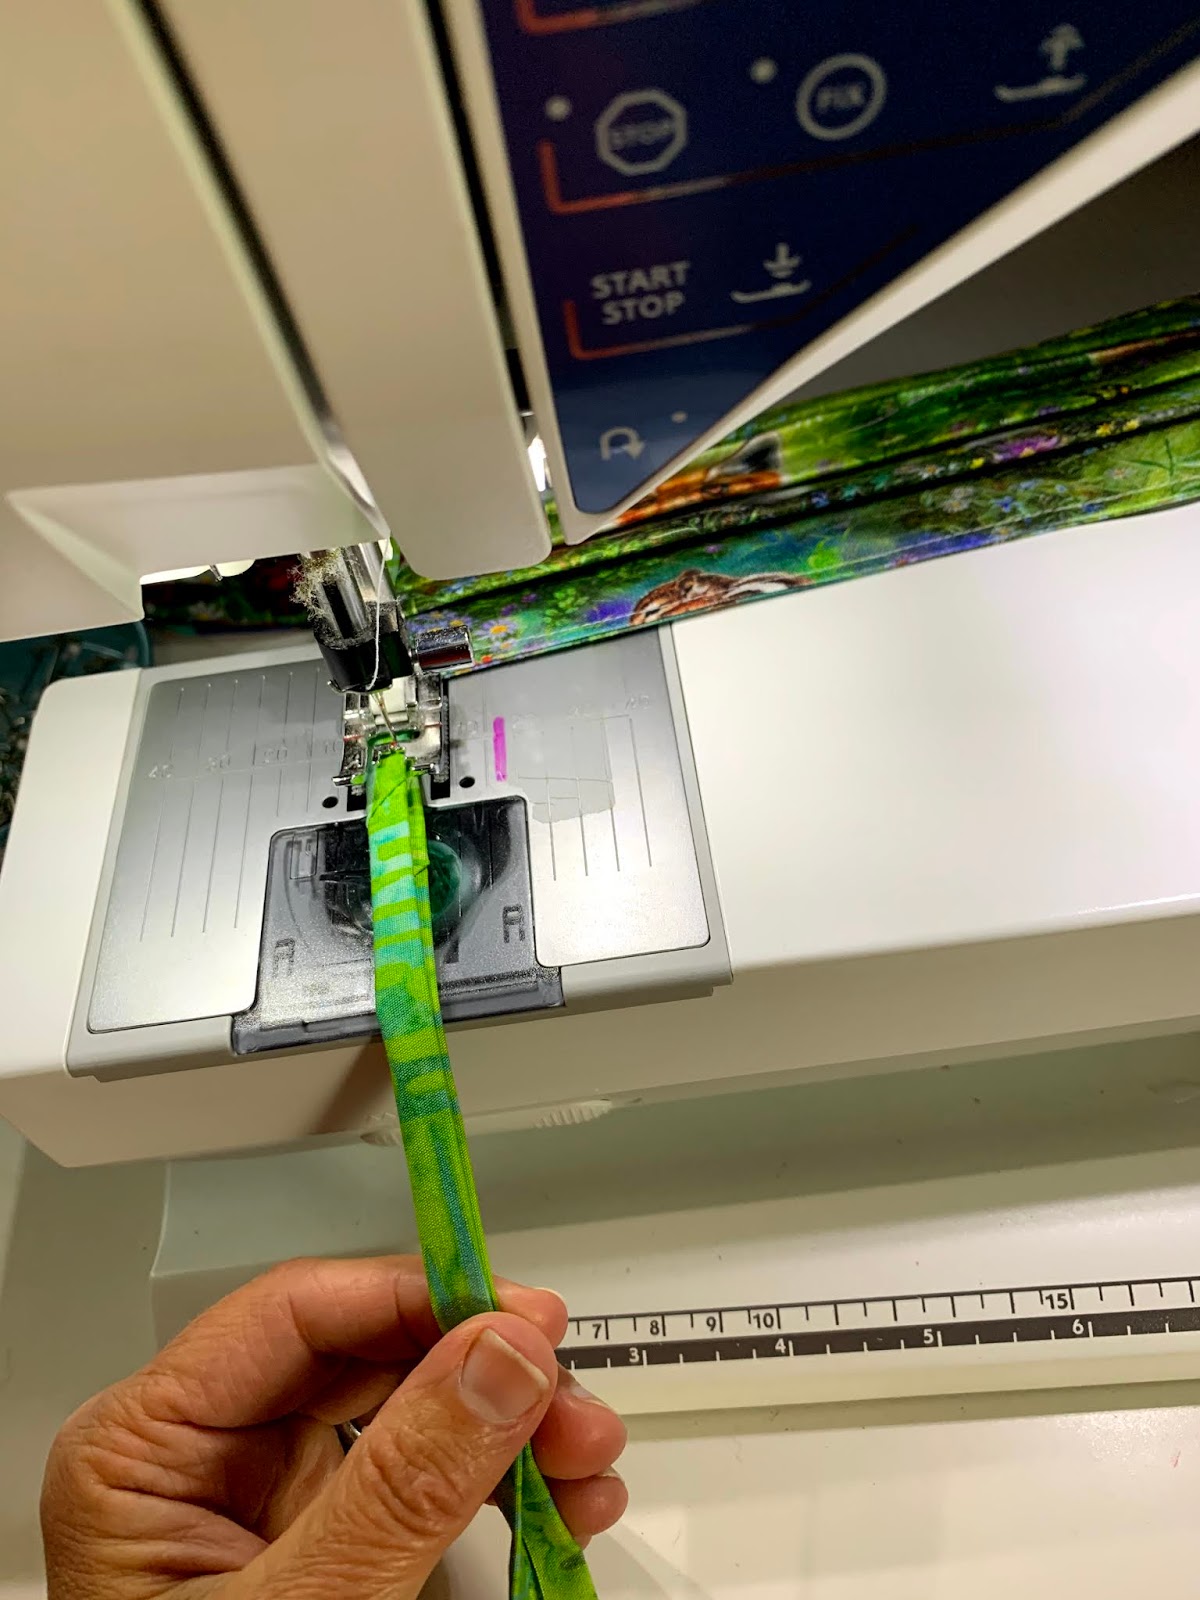
Fold pressed tie strips in half along long edge being sure to fold end under about 1/2” to avoid raw edges.


Stitch until approximately 2” from middle of tie (shown by pin above).

Place mask into tie as binding and stitch, then continue down long edge of tie to end, folding end under.


Repeat for second tie. Put on mask and take selfie.

The end.


1 comment:
lovely! i am really a video kind of girl, any chance? LOL! no worries very nice and i hope your are feeling well!
Post a Comment